
Samsung 24-Inch H4500 Series 720p LED Smart TV -UN24H4500
Model#: UN24H4500

Overview:
The Samsung 24-Inch H4500 Series 720p LED Smart TV delivers a compact, high-quality viewing experience with HD resolution and built-in Smart features. Its Clear Motion Rate (CMR) 60 ensures smooth playback for fast-moving scenes. The energy-efficient design makes it perfect for smaller spaces like kitchens, bedrooms, or dorm rooms.
PRICE GUARANTEE: Buy now with 60 days price protection.
Ratings & Reviews:
Literature
Reserve & Pick Up from Showroom »
| Distribution Centres | Address | Units Available |
|---|---|---|
| Brampton | 280 Rutherford Road S, | In stock |
| Etobicoke | Etobicoke | In stock |
| Mississauga | Mississauga | In stock |
| Springdale | Springdale | In stock |
Protect your purchase with an extended warranty.
- 2 Year Extended TV - 24 months : $34.99
- 3 Year Extended TV - 36 months : $44.99
- 4 Year Extended TV - 48 months : $64.99
The Samsung 24-Inch H4500 Series 720p LED Smart TV (UN24H4500) is an excellent choice for users seeking a compact TV with a balance of performance and Smart functionality. Perfect for smaller spaces such as bedrooms, kitchens, or dorm rooms, this 24-inch LED screen offers 720p HD resolution, delivering sharp and clear images for everyday viewing. While not Full HD or 4K, the 720p resolution is sufficient for most casual watching, streaming, or browsing apps.
One of the highlights of the H4500 Series is its Smart TV capabilities. Built-in Wi-Fi allows you to access popular streaming apps like Netflix, YouTube, and Hulu without the need for an additional streaming device. The Samsung Smart Hub user interface is intuitive, making it easy to browse and find content. This adds convenience and versatility, allowing you to enjoy movies, TV shows, and online content all in one place.
The Clear Motion Rate (CMR) 60 feature ensures that fast-moving content such as sports, action movies, or gaming remains smooth and blur-free. Whether you’re watching a fast-paced game or an intense action sequence, CMR 60 helps reduce blurring and ghosting, providing a more fluid viewing experience. This technology enhances the overall viewing quality, especially for motion-heavy content.
Energy efficiency is a significant factor in the H4500 model. The LED technology helps reduce power consumption, and the TV’s slim profile makes it a great option for those conscious about energy use. The Eco Sensor automatically adjusts the brightness of the screen based on the lighting in your room, which further contributes to energy savings.
In terms of connectivity, the H4500 includes two HDMI ports, allowing you to connect external devices such as a Blu-ray player, gaming console, or laptop. Additionally, it has a USB port for viewing photos or videos directly from a USB drive, making it a versatile entertainment hub. The TV's sound quality is also decent for its size, with options for connecting external speakers or a soundbar if desired.
Overall, the Samsung 24-Inch H4500 Series 720p LED Smart TV combines a compact design with Smart TV features, energy efficiency, and a smooth viewing experience, making it an ideal choice for those in need of a smaller TV that delivers quality performance and entertainment options.
| Microphone | |
|---|---|
| Type | 100% Colour Volume with Quantum Dot |
| design | |
| Color | Perceptional Color Mapping |
| Tuner/Broadcasting | |
| Digital Broadcasting | (US) ATSC 3.0(Canada) ATSC/ClearQAM |
| Key Features | |
| Connectivity | Built-in Wi-Fi; Ethernet; 4 x HDMI ports; 2 x USB ports; Digital Audio Output (Optical); RS-232C |
| Smart Features | Smart TV with Universal Guide; Bixby on TV; Ambient Mode™; Samsung OneRemote |
| HDR Support | HDR10, HDR10+, HLG |
| Dimensions (Without Stand) | Height: 105 cm; Width: 183 cm; Depth: 6.6 cm |
| Dimensions (With Stand) | Height: 105 cm; Width: 183 cm; Depth: 15.2 cm |
| Weight (Without Stand) | 44.5 kg |
| Projection System | |
| Display Type | UHD |
| Screen Size | 24 |
| Construction type | |
| Design | Boundless 360° Design™; Slim Design; Bezel Color: Slate Black; Stand Color: Graphite Black |
| Display | |
| Resolution | 4K UHD (3840 x 2160) |
| Diagonal Screen Size | 23.6 |
| Other | |
| Model Number | UN24H4500 |
| Video | |
| Viewing Angle | Ultra Viewing Angle |
| Picture (processing) | |
| Picture Processor | Quantum Processor 4K |
| Motion | Motion Rate 240 |
| Picture (Panel) | |
| HDR Effect | Quantum HDR 8X |
Reviewed by 0 customers
Protect your purchase with an extended warranty.
- Protect your purchase for 24 months: $34.99 CAD
- Protect your purchase for 36 months: $44.99 CAD
- Protect your purchase for 48 months: $64.99 CAD
Fridge Installations:
- If a whole new waterline is necessary, it is recommended that this service be obtained.
- When our delivery crew arrives, they will uncrate and transfer your new refrigerator into position if it is intended to replace the refrigerator you already have. It will not be plugged in by them.
- In the event that there is access to the floor from the ground, the installation will comprise sixty feet of waterline.
The packing will not be removed by our installer, nor will they offer carry away services. Reversing the door of the refrigerator is a service that may be provided for an additional fee.
Gas Range Installations:
- Please note that this bundle does not include any packing removal services.
- Unfortunately, haul away is not included in this service.
- Additional fees will be assessed if shut-off valves, gas permits, or any other kind of special carpentry work is required in order to accommodate the new appliance.
- If a totally new installation is required, please get in touch with us and decide for an on- site estimate. Immediately after the conclusion of the on-site inspection, our installer will offer a comprehensive estimate of the work that is necessary as well as the cost that is related with it. Each and every price associated with an on-site inspection is non- refundable and must be paid for at the TELETIME store in your immediate vicinity. Including all necessary plumbing and electrical work, as well as any other trades and permissions that are needed to support the completion of the new installation, this encompasses everything essential.
Gas Dryer with Flexible Hose Installation:
- The purchase of this service is recommended if there was a gas dryer already installed in the premises.
- If a totally new installation is required, get in touch with us and make arrangements for an on-site estimate. Immediately after the conclusion of the on-site inspection, our installer will offer a comprehensive estimate of the work that is necessary as well as the cost that is related with it. Each and every price associated with an on-site inspection is non-refundable and must be paid for at the Teletime store in your immediate vicinity.
- The packing will not be removed by our installer, nor will they offer carry away services.
- If any shut-off valves, gas permits, vent-less exhaust kits, conversion kits, vent hose, stacking of goods, expansion and reduction adapters, or special carpentry work is required in order to accommodate the new appliance, additional fees will be incurred.
White Glove Dryer Installation (only works with electric dryers):
- The delivery person will finish this task when they arrive to deliver the package.
- At the place of purchase, there will be additional fees that apply.
Washing Machines with White Glove Service:
- The delivery person will finish this task when they arrive to deliver the package.
- At the place of purchase, there will be additional fees that apply.
Dishwashers with Hoses and Haul Away Service
- The packing will be removed off the device, and our installer will pick it up and bring it to you.
- A simple installation into an already existing outlet is shown here.
- Included in this installation service is a braided fill hose made of stainless steel that is six feet long and serves as the supply line.
- The old unit will be removed by our installer, who will also dispose of all the packaging and other materials.
- Any risers, air gaps, pigtails, elbows, on/off switches, working in crawl spaces, or special carpentry work that is required to remove the previous unit may result in additional expenses being incurred.
- If a totally new installation is required, please get in touch with us and make arrangements for an on-site estimate. Immediately after the conclusion of the on-site inspection, our installer will offer a comprehensive estimate of the work that is necessary as well as the cost that is related with it.
Dishwashers with Hoses
- A simple installation into an already existing outlet is shown here.
- Before beginning the installation, you are required to remove the packing.
- If you have not ordered delivery via our installer, your unit need to be positioned near the location where it is going to be installed before our delivery workers arrive.
- Kindly detach the unit that you currently have.
- Included in this installation service is a braided fill hose made of stainless steel that is six feet long and serves as the supply line.
- If the removal of the previous unit requires the use of any risers, air gaps, pigtails, elbows, on/off switches, working in crawl spaces, or special carpentry work, additional fees will be incurred.
Ductless Range Hoods Installation
- This service does not involve the removal of packing materials or the disposal of packaging.
- If a totally new installation is required, please get in touch with us and decide for an on- site estimate. Immediately after the conclusion of the on-site inspection, our installer will offer a comprehensive estimate of the work that is necessary as well as the cost that is related with it. Each price associated with an on-site inspection is non-refundable and must be paid for at the TELETIME store in your immediate vicinity. Including all necessary plumbing and electrical work, as well as any other trades and permissions that are needed to support the completion of the new installation, this encompasses everything essential.
Ducted Range Hoods Installation:
- This service does not involve the removal of packing materials or the disposal of packaging.
- If a totally new installation is required, please get in touch with us and make arrangements for an on-site estimate. Immediately after the conclusion of the on-site inspection, our installer will offer a comprehensive estimate of the work that is necessary as well as the cost that is related with it. Each price associated with an on-site inspection is non-refundable and must be paid for at the Teletime store in your immediate vicinity. Including all necessary plumbing and electrical work, as well as any other trades and permissions that are needed to support the completion of the new installation, this encompasses everything essential.
Island Canopy or Vent Installation:
- There will be no drywall patching or painting included in this package, nor will there be any relocating of the current duct work.
- This service does not involve the removal of packing materials or the disposal of packaging.
- If a totally new installation is required, please get in touch with us and make arrangements for an on-site estimate. Immediately after the conclusion of the on-site inspection, our installer will offer a comprehensive estimate of the work that is necessary as well as the cost that is related with it. Each price associated with an on-site inspection is non-refundable and must be paid for at the Teletime store in your immediate vicinity. Including all necessary plumbing and electrical work, as well as any other trades and permissions that are needed to support the completion of the new installation, this encompasses everything essential.
Over the Range Installation:
- Before installation, remove the unit's packing and do a thorough inspection.
- Electrical service should be disconnected from the current OTR.
- Disconnect the Duct
- Install, center (if at all feasible), and secure the support bracket for the new OTR in accordance with the specifications provided by the manufacturer.
- The exhaust fan should be checked and rotated, if necessary, in order to ensure that there is enough ventilation.
- If required, connect and seal to the duct that is already in place.
- Connect the OTR cable to the receptacle and fasten it with the hardware that is supplied.
- Put in place all of the racks, panels, coverings, and/or filters that are accessory.
- The OTR should be tested by turning on and monitoring a heating cell (using a container that is filled with water), the exhaust fan, and all of the lights and accessories that are still present.
- In the event that the OTR is put inside a ductless installation, the installer will make certain that the auxiliary charcoal filter is fitted correctly.
For your information, all of the accompanying packaging of the device that was installed will be disassembled and stored in a storage facility or outdoors, depending on the circumstances.
Most Frequent Overages:
- Dedicated electrical line operating at 110 volts.
- Either converting a circular vent into a rectangular vent or the other way around
- Putting in place a box for electrical outlets if an incorrect service was offered.
- The installation of additional ductwork to facilitate the switch from perpetual exhaust to recirculating or vice versa.
- Working on the carpentry to make room for the new OTR.
Electric Cooktop Installation:
- Before installing, take out the unit's packing and give it a check.
- Place the cooktop in the opening.
- Adjust the leveling brackets to the cabinet floor to ensure that the cooktop is erect.
- Fasten the cooktop firmly to the counter.
- Glue leveling brackets to the cabinet's bottom.
- Insert the proper power cable into the cabinet.
- Attach the cooktop to the outlet and electrical box.
- Insert the cooktop power cable into the outlet. Test the cooktop by turning on all of the surface burner elements, all of the controls, and all of the accessories (such as the clock, timer, and setting).
Please take note that all related packaging for the installed equipment will be disassembled and stored outdoors if needed.
Typical Overages
- Carpentry to make the replacement appliance fit.
Gas Cooktop Installation:
- Before installing, take out the unit's packing and give it a check.
- Disconnect the gas from the appliance after turning off the gas supply at the shut-off valve and making sure the gas is off there. If there isn't a shut-off valve, there may be extra costs to turn off the gas and install a shut-off valve, but they can't go above the approved additional fee estimate that the client is given.
- Fasten the cooktop firmly to the counter.
- Glue leveling brackets to the cabinet's bottom.
- Adjust the leveling brackets to the cabinet floor to ensure that the cooktop is erect.
- Plug the cooktop power cable into an outlet and connect the cooktop to the electrical box and receptacle.
- Insert the proper power cable into the cabinet.
- Make sure the line is sealed up and leak-free.
- Attach the new gas appliance's ventilation and gas service.
- Restart the gas supply and check for leaks in all the connections.
- Check for leaks and keep an eye on the gas supply.
- Make that the appliance has all its accessories installed, including lint filters, burner faps, racks, grease, and trousers.
- Test the gas appliance by turning on and keeping an eye on all the surface burner elements, controls, and accessories (such as a clock, timer, and setting), as well as all of the ventilation connections (make sure all burner elements are adjusted to exhibit the correct flame characteristics).
- Includes the new, code-mandated flex hose.
Please take note that all related packaging for the installed equipment will be disassembled and stored outdoors if needed.
Typical Overages
- Off-the-shelf conversion kits
- Custom woodworking to make the new item fit.
Wall Oven Installation:
- Single wall ovens will be installed by a two-person crew.
- Cut off the electric oven's power supply and unplug the device.
- Make sure the electrical cable is disconnected to avoid damaging the outlet.
- Attach the new electric oven's electrical supply.
- Make that the appliance has all of its attachments (burns caps, racks, trousers, grates, etc.) attached.
- To test a wall oven, turn it on and keep an eye on all of the burner elements on the outside, the broiler, the oven, OR the inside heating elements, all of the controls, all of the accessories (such as a clock, timer, or setting), the oven door, and the storage drawer.
Please take note that all related packaging for the installed equipment will be disassembled and stored outdoors if needed.
Typical Overages
- When a new unit is shorter than an old one, shelf build-up.
- gas to electric conversion OR vice versa (may need local gas supplier and/or electrician)
- Customer woodworking to make the new appliance fit.
BBQ Installation:
- Take the device out of the packaging and check that there are no broken or missing parts.
- Building the Barbecue Installing any add-ons like the side burner, ignitor, etc.
- After installation, go over appropriate functioning and installation with the client.
- final cleanup of the construction site
Please take note that all related packaging for the installed equipment will be disassembled and stored outdoors if needed.
Please do not hesitate to get in touch with Teletime if you do not find the service that you seek. One may choose from a broad variety of services, some of which might not be included on the list.
Related Products
Samsung SP-LFF3CLAXXZC

In Stock
The Freestyle 2nd Gen Smart FHD Portable LED Projector
- Tilt. Point. Play.
- Put your screen wherever you want.
- Ready for your next adventure.
- Play games & stream gaming videos with Gaming Hub.
Samsung WMN-A50EB/ZA

In Stock
Samsung | Slim Fit Wall Mount | WMN-A50EB/ZA | 2021 -WMN-A50EB/ZA
- Slim fit wall mount designed for 43" to 50" Samsung TVs.
- Low-profile design ensures the TV sits close to the wall for a sleek look.
- Easy installation with secure mounting for stability.
- Ideal for creating a clean, minimalist setup, especially with The Frame TV.
LG 55UJ6300
In Stock
4K UHD HDR Smart LED TV - 55" Class -55UJ6300
- 4K Ultra HD Resolution
- webOS 3.5 Smart TV
- Active HDR
- True Color Accuracy
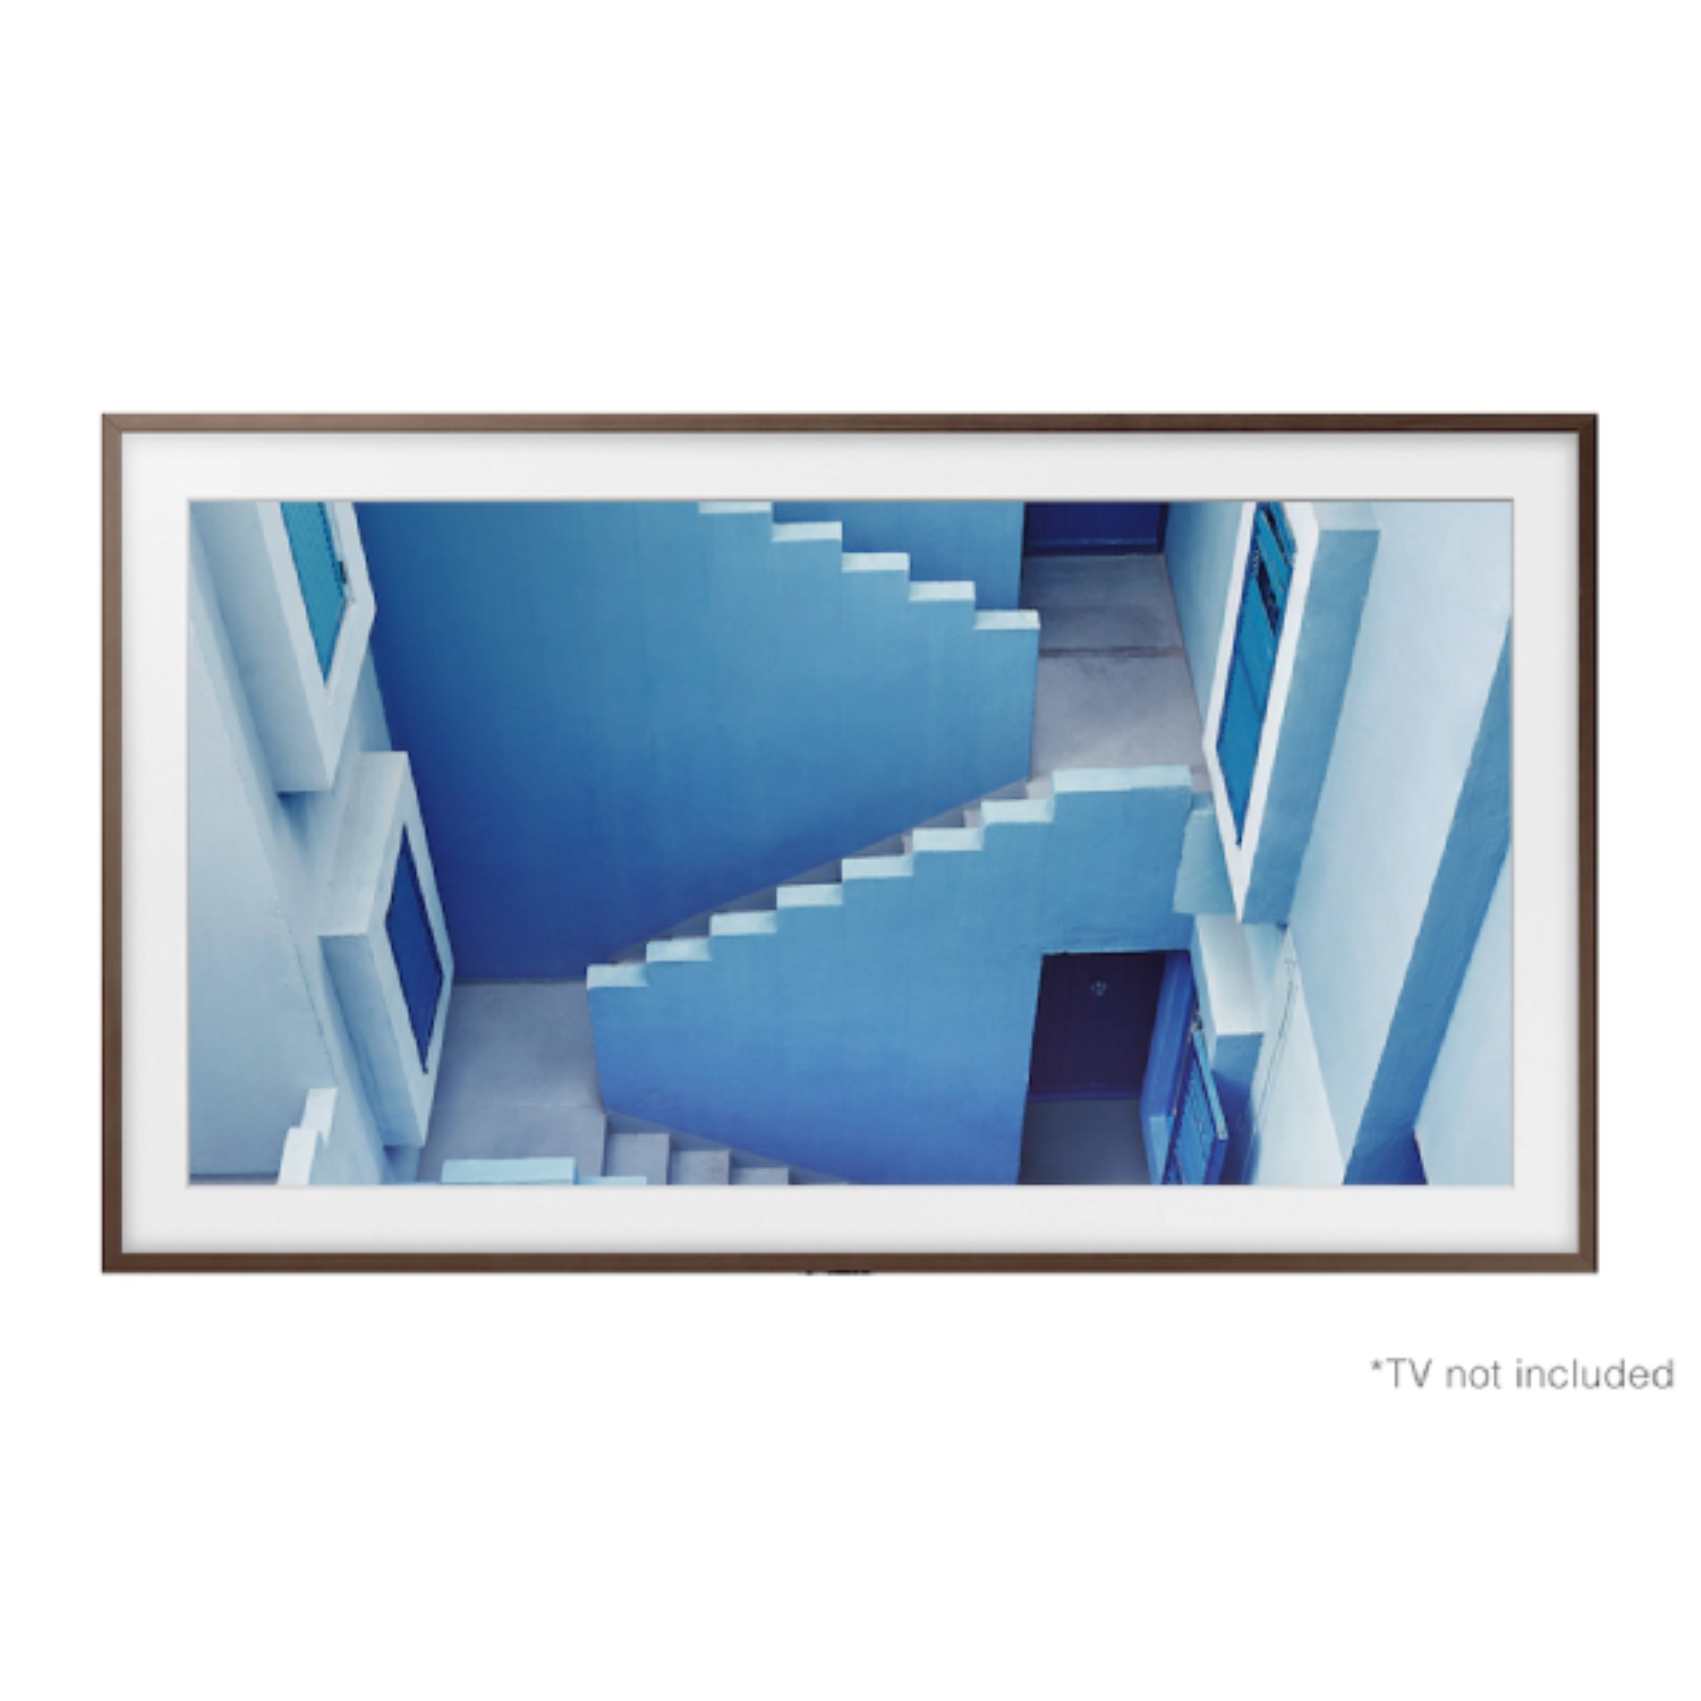
Samsung VGSCFN49DP/ZA
In Stock
2019 49" The Frame Customizable Bezel - Brown -VGSCFN49DP/ZA
- Customizable brown bezel designed for the 49" Samsung The Frame TV.
- Adds a rich, warm look to The Frame TV, complementing various décor styles.
- Magnetically attaches for easy, tool-free installation and effortless removal.
- Ideal for creating a sophisticated and elegant ambiance in any room.
Samsung QN98QN90AAFXZC
In Stock
98" Neo QLED 4K TV QN90A - QN98QN90AAFXZC
- Quantum Matrix Technology
- Neo Quantum Processor 4K
- Quantum HDR 32x
LG OLED65BXPUA
In Stock
65" BX LG OLED TV with ThinQ® AI -OLED65BXPUA
- 65" OLED
- ThinQ® AI
- Dolby Vision IQ
Sony XR83A90J
In Stock
Sony BRAVIA XR A90J 83" 4K UHD HDR OLED Smart Google TV (XR83A90J)
- 4K/120fps
- Acoustic Surface Audio+
- Hands-free Voice Search
- XR HDR Remaster
- XR OLED Contrast Pro
Samsung UN50M5300
In Stock
50" M5300 Smart Full HD TV -UN50M5300
- Full HD resolution
- Smart TV features
- Slim design
- Multi-connectivity
Samsung UN70TU6900FXZC
In Stock
70-inch Crystal UHD 4K Smart TV-UN70TU6900FXZC
- 70" 4K UHD LED Display
- Crystal Processor 4K for Enhanced Clarity
- HDR Support for Better Contrast
- PurColor for Vibrant Colors
- Smart TV with Tizen OS
LG 75UN8570AUD
In Stock
75" UN85 LG UHD TV with ThinQ® AI -75UN8570AUD
- 75-inch UHD display with crisp visuals and vibrant colors
- ThinQ® AI and webOS platform for seamless smart functionality and streaming services
- Dolby Audio for enhanced sound quality
- Multiple HDMI and USB ports for connectivity with external devices
Recently Viewed Products
Samsung QN65QN85BAFXZC
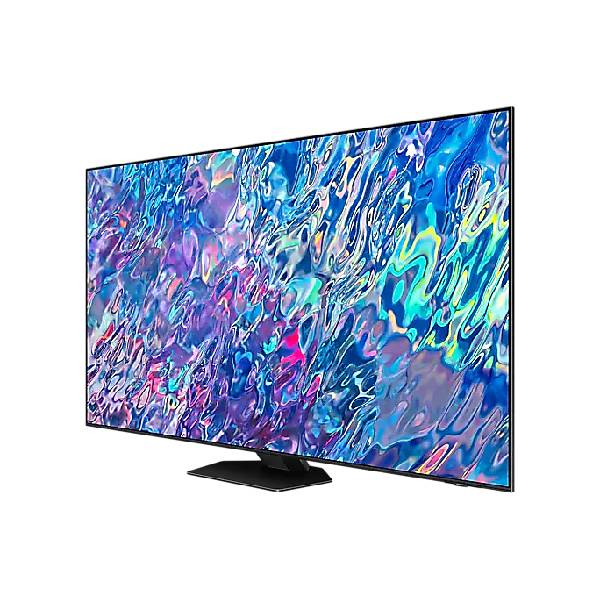
In Stock
65" Neo QLED 4K Smart TV QN85B - QN65QN85BAFXZC
- Full range of neo vision enriches your viewing experience
- Ultimate Ultra-fine light control
- Intelligent processor perfected by deep-learning
LG 55SK8000PUA
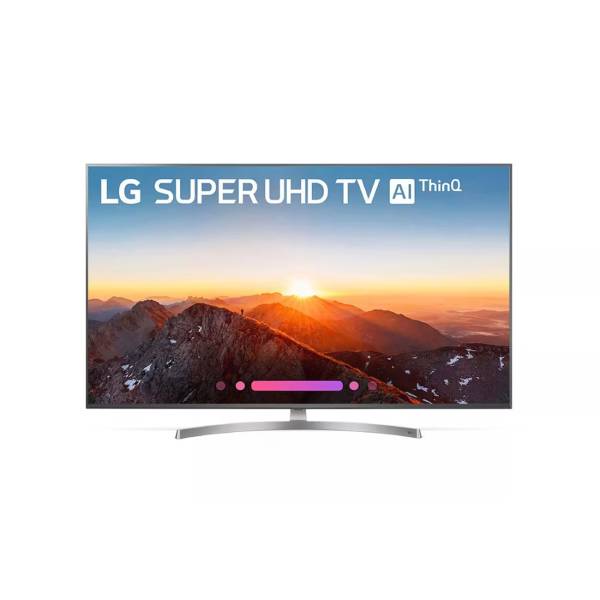
In Stock
SK8000PUA 4K HDR Smart LED SUPER UHD TV w/ AI ThinQ® - 55" Class -55SK8000PUA
- LG ThinQ® AI | Google Assistant
- LG α7 Intelligent Processor
- Nano Cell™ Color Display
- Billion Rich Colors
- 4K Cinema HDR
- Dolby Atmos®
LG 65SM8600
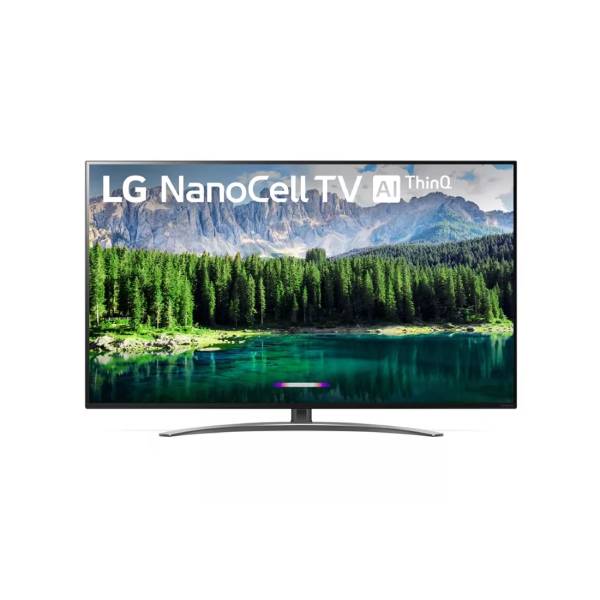
In Stock
LG NanoCell 81 Series 4K 65 inch Class Smart UHD NanoCell TV w/ AI ThinQ® -65SM8600
- LG ThinQ AI | Google Assistant | Alexa
- Quad Core Processor
- Local Dimming
- NanoCell Display
Samsung QN65Q900TSFXZC
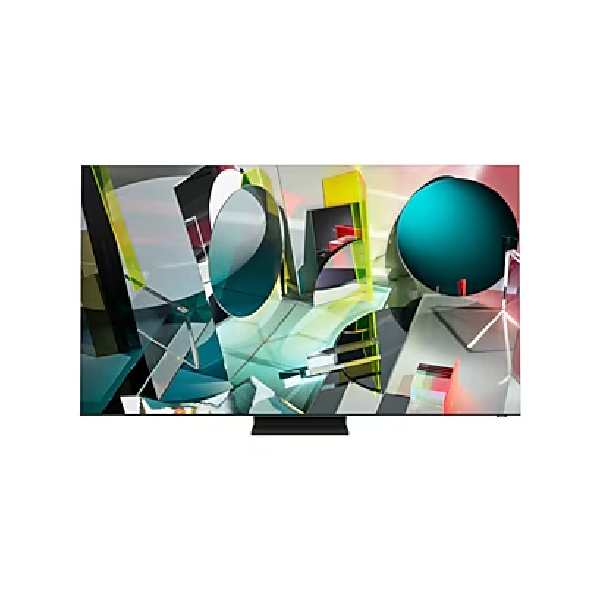
In Stock
65" 2020 Q900T 8K Smart QLED TV -QN65Q900TSFXZC
- 65-inch QLED 8K UHD TV with Quantum Dot technology for stunning colors and brightness.
- Quantum HDR 32X and an 8K Quantum Processor deliver incredible clarity and detail.
- Smart TV powered by Tizen OS, with built-in voice assistants and smart home integration
Samsung UN24H4500

In Stock
Samsung 24-Inch H4500 Series 720p LED Smart TV -UN24H4500
- Smart TV Features
- Clear Motion Rate
- Energy Efficient